During the 2019-2020 School Year, the Emerson STEAM club worked on light sculptures. We combined LED lights, forms students choose, and used Arduino boards to control when different color LED lights turned on and off.
Student projects exhibited at Illinois State University in February and March of 2020. The projects were Dr. Gross’s contribution to the faculty biennial.
https://galleries.illinoisstate.edu/exhibitions/2020/2020-faculty-biennial/#slide45-slide 48
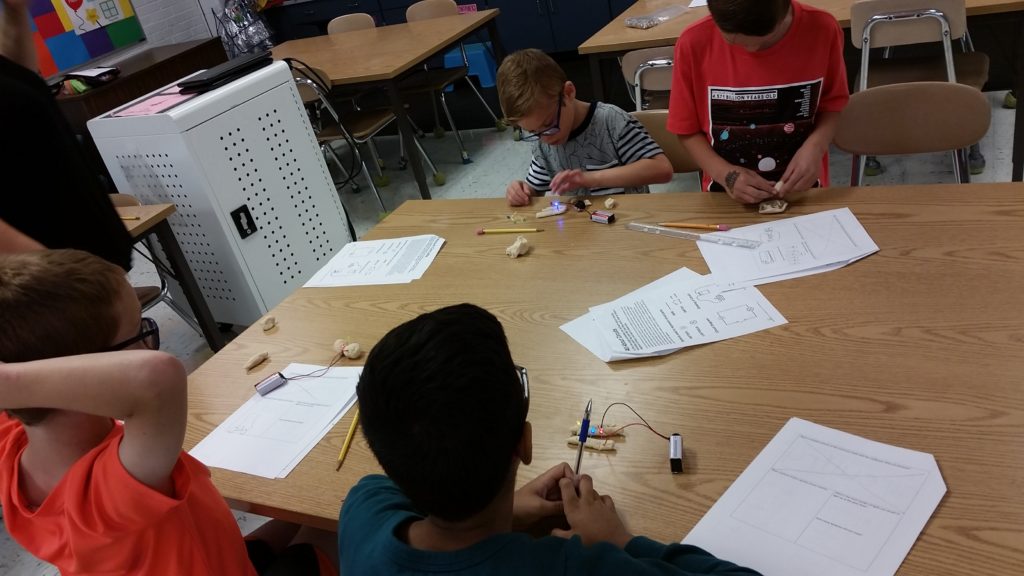
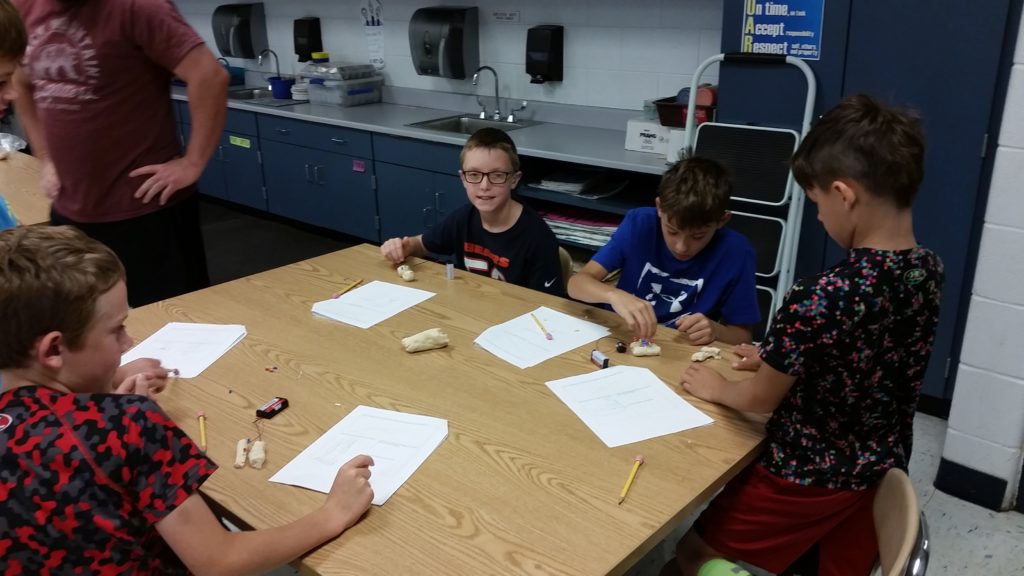
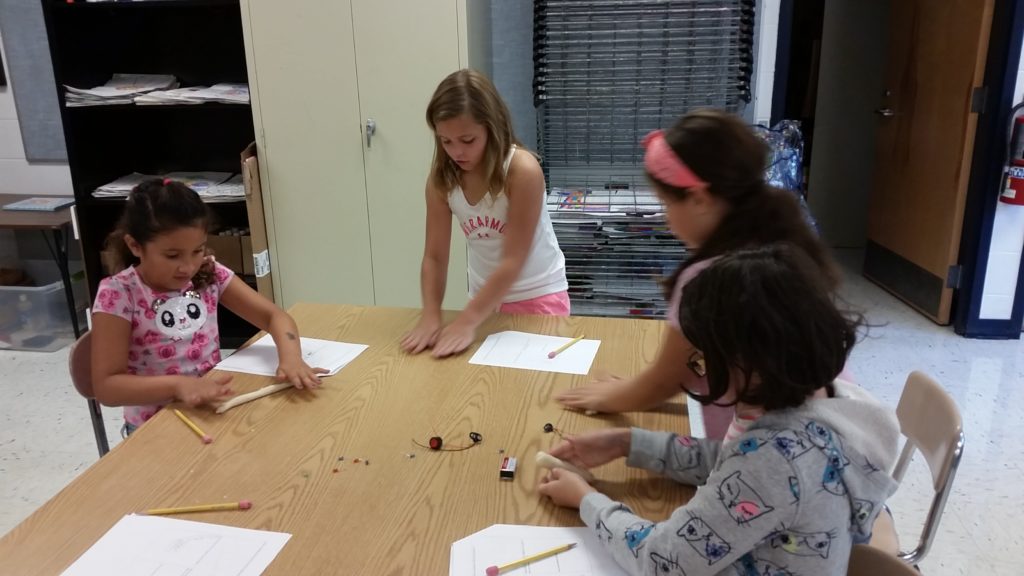
On 9.11.19 STEAM club started it’s 6th year at Emerson. On day one we prepared for our Arduino sculptures by learning about circuits. Groups of students defined what a circuit is, worked on their observation skills, and then built simple circuits using conductive dough, LED lights, and 9V batteries. *We started with this lesson because Arduino LED sculptures require a basic understanding of circuitry

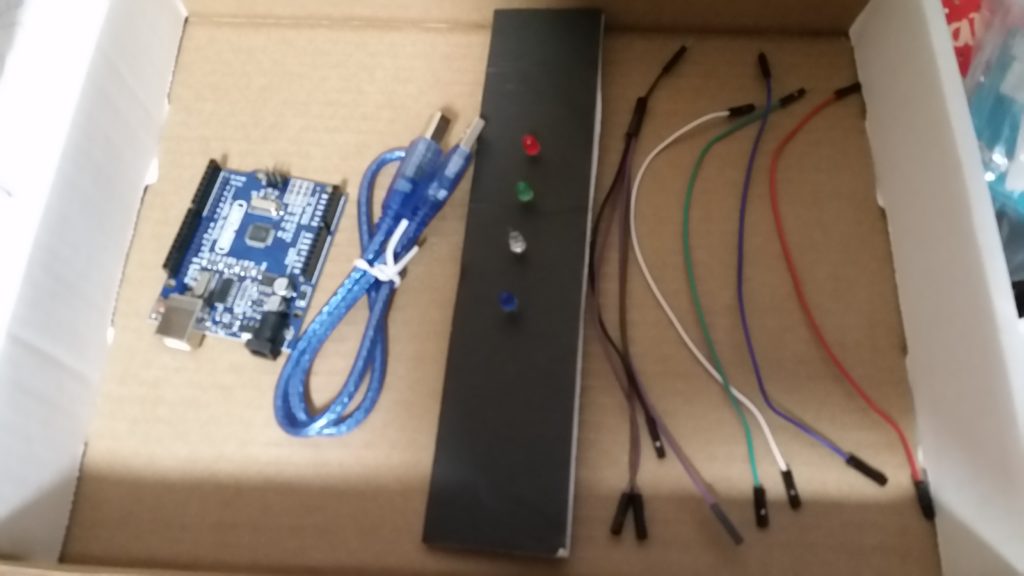
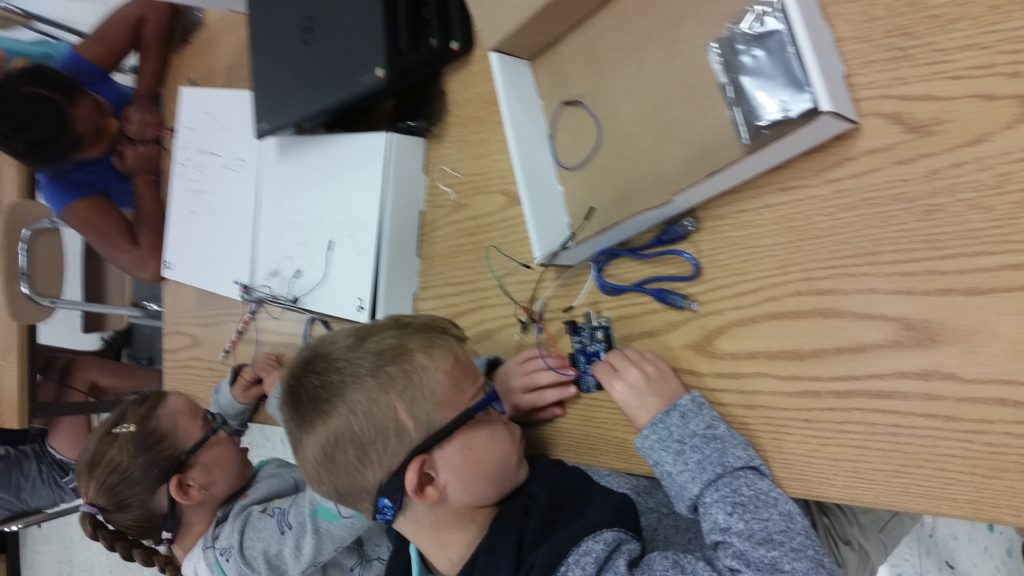
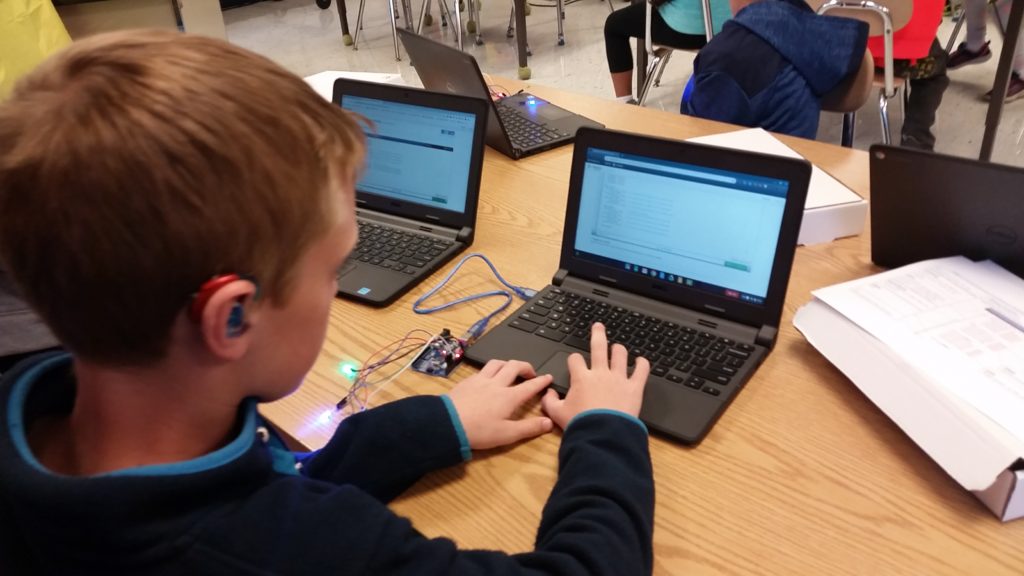
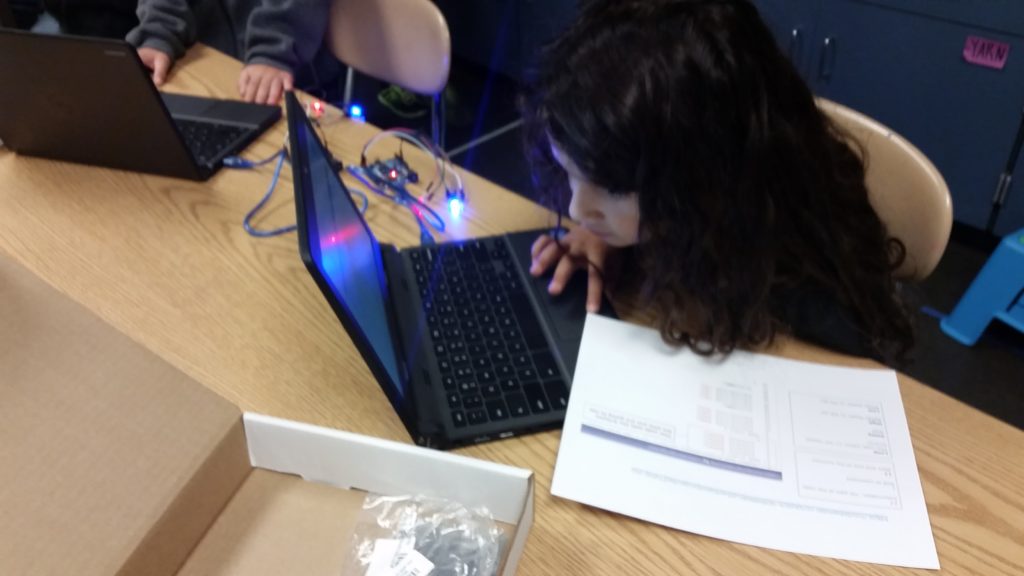
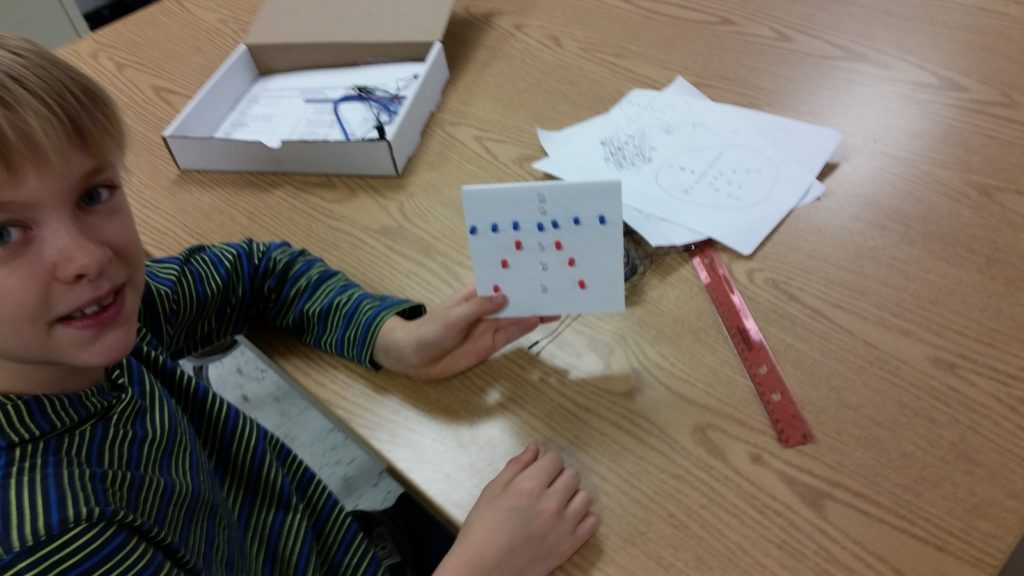
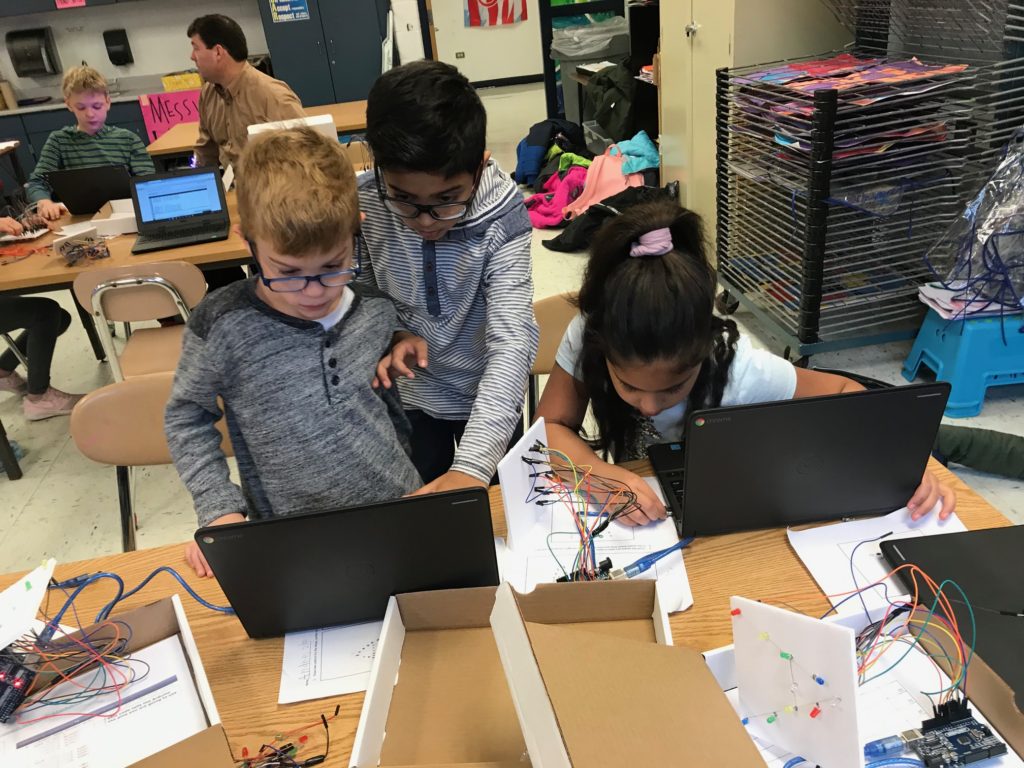
On 9.25 STEAM club students received and began working with their Arduino boards. Each student received a kit ( as pictured below.) The set up 4 basic LED circuts on their Arduino board. The board was preprogrammed with specific code that made the 4 LED’s light up and blink together once the board was powered by a computer. As a group we unpacked the preprogrammed code to begin our understanding of Arduino Coding.
Materials for 9.25
Link to Codebender app to install:
https://chrome.google.com/webstore/detail/codebender-app/magknjdfniglanojbpadmpjlglepnlko?utm_source=chrome-app-launcher
Link to code preinstalled on your arduino:
https://codebender.cc/sketch:908986
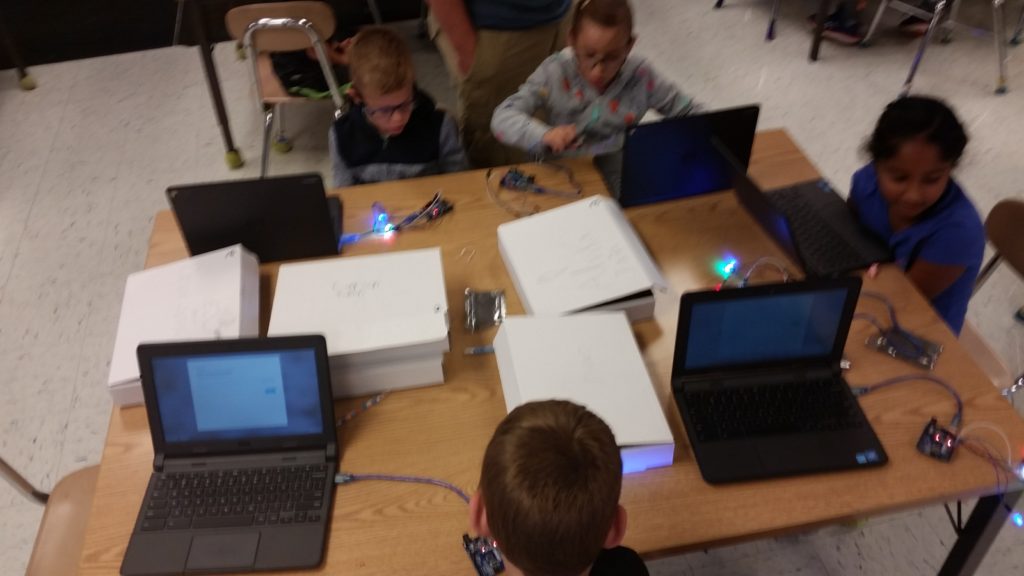
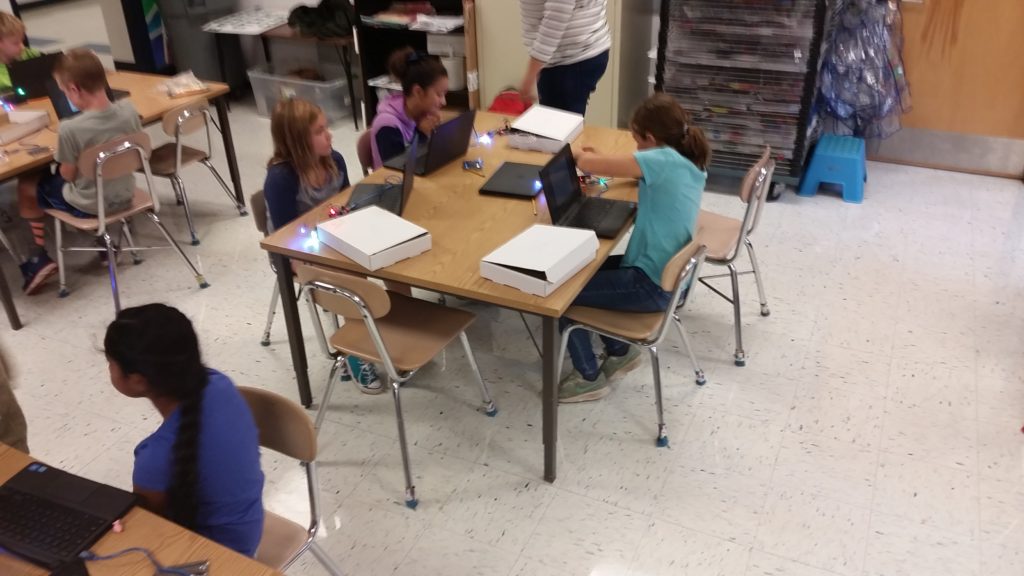
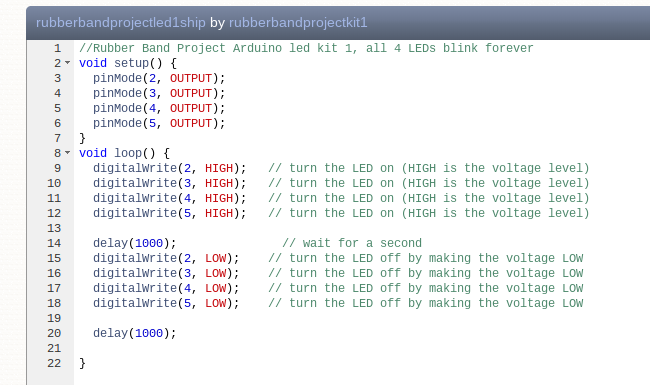
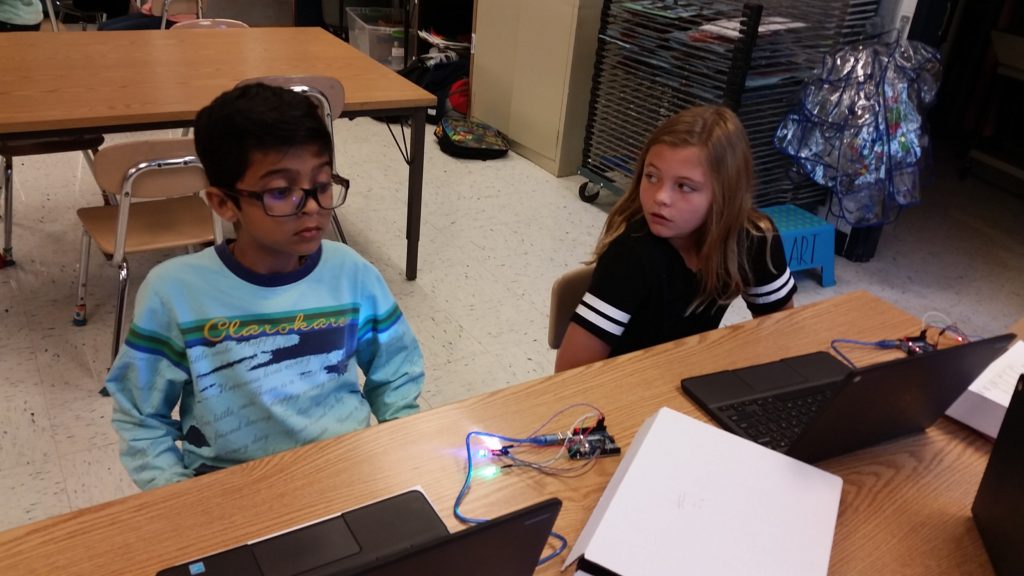
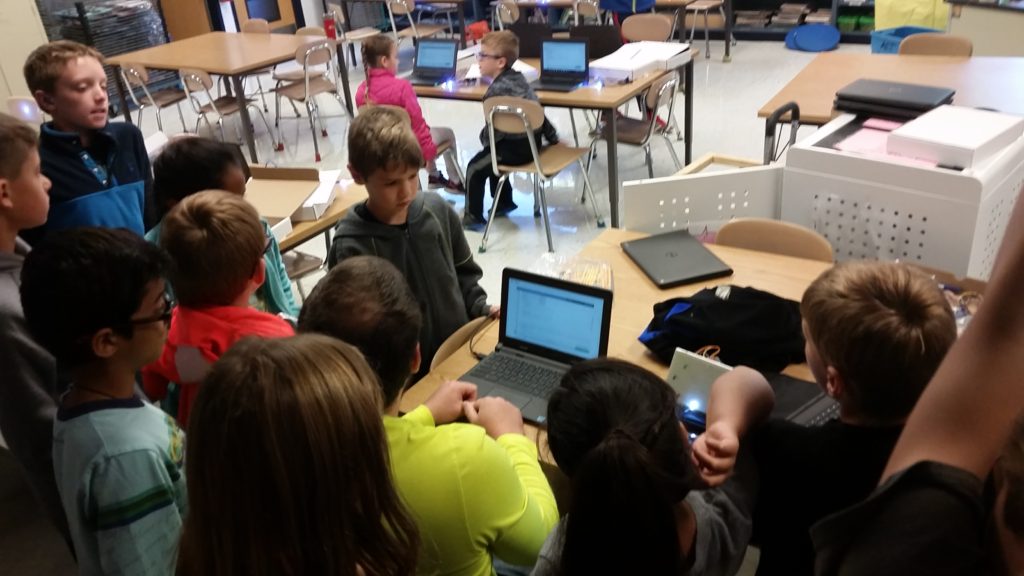
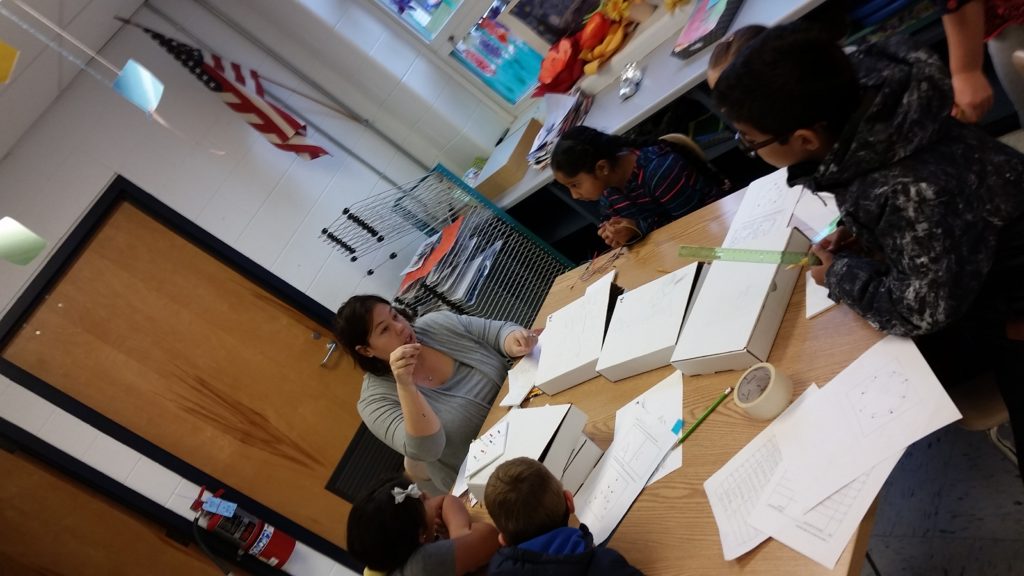
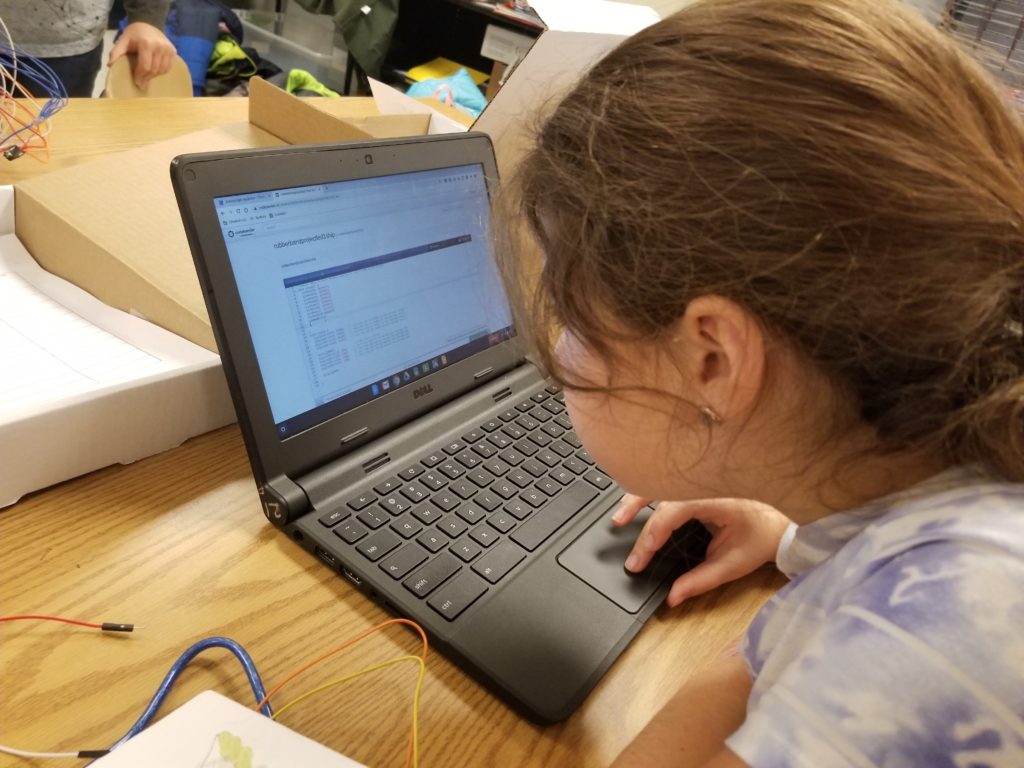
On 10.9 Kids got started with their first code changes! We installed the codebender app on each student’s D200 profile. Each child pulled up the above code and made one initial change as a class, having one LED turn on, then a second later all the rest. Students then worked on turning on one LED at a time. This step reminded us of the design process. Modifying code on their own was not an easy thing to do. Students had many failures on their way to success. Students missed some required special characters when adding code in incorrectly, causing builds to fail. Students misspelled words, causing builds to fail. Some students added delays in the wrong place, causing the LED’s to light up in a pattern that was not intended. Some students needed help from neighbors to think through how to turn on the lights one at a time. All of these things were great reminders that mistakes and failures are part of the process. At the end of class, Mr. Boden showed the kids some amazing things he had done with a circle of LED’s. This demonstration showed the power of coding and sparked student’s imaginations about what they may want to build. In the coming sessions, students will begin to decide what kind of sculpture they will build for themselves. They will layout plans for the physical sculpture, and the code they need to build.

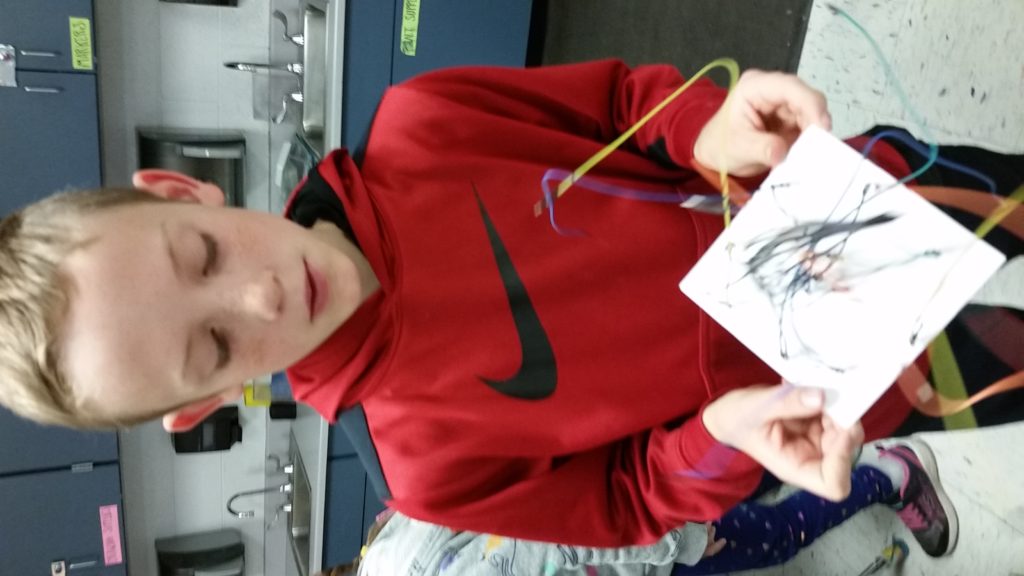
10.23 Students began working on their own sculpture planes. They drew out mock-up sculptures on paper, and wrote out basic codes, or ideas for their code. I hope to add some of these paper mock-up outlines in the future.
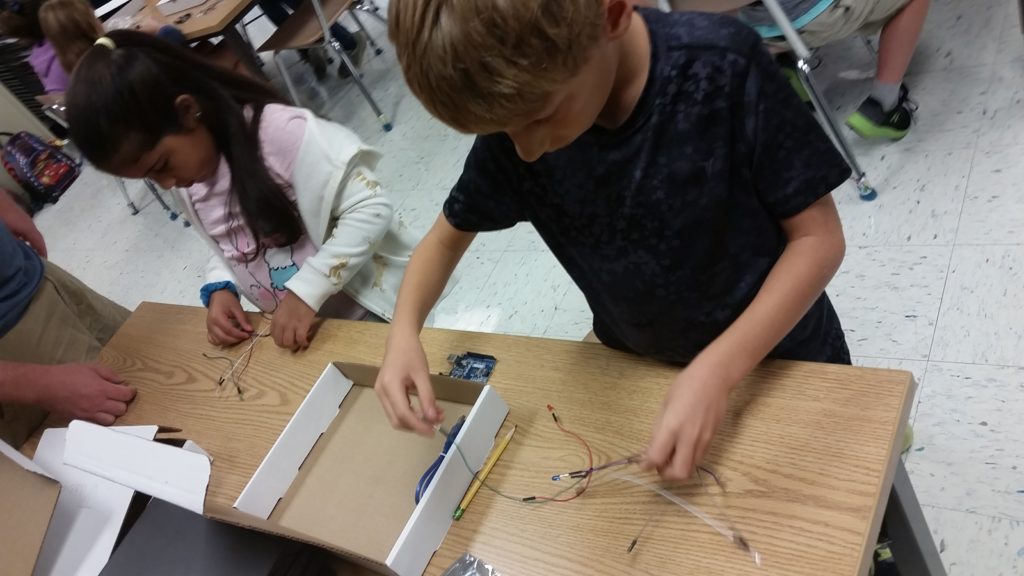
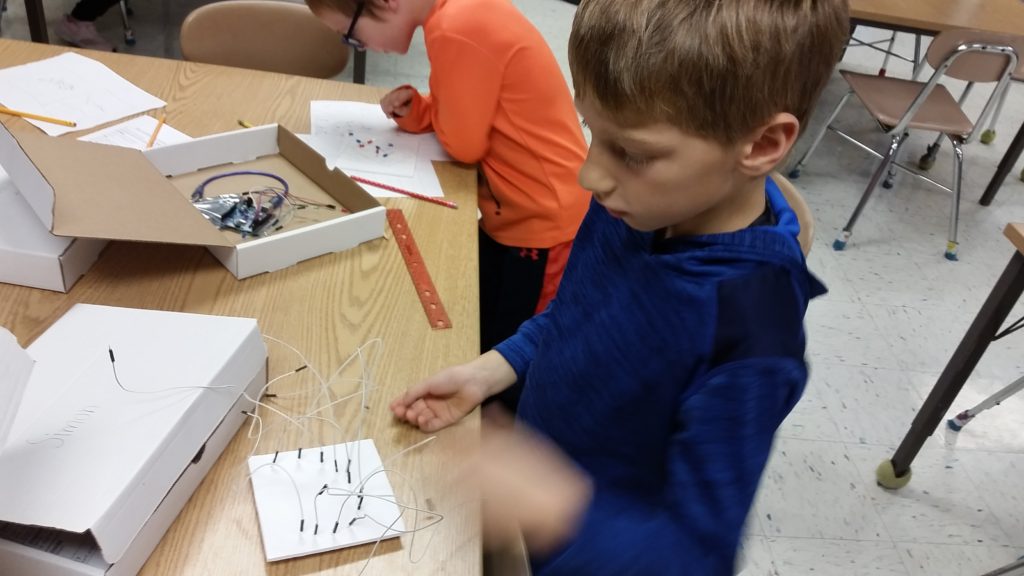
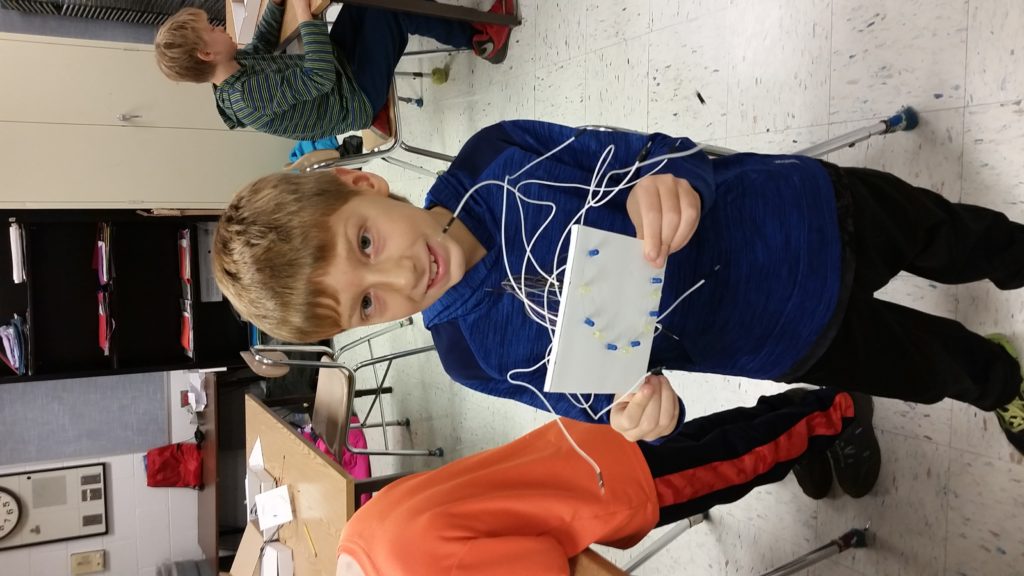
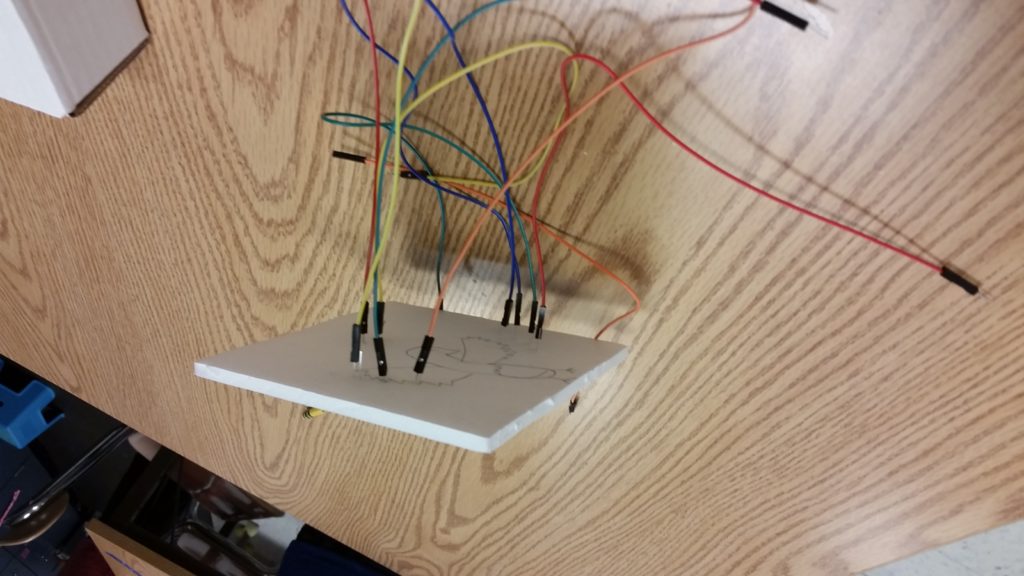
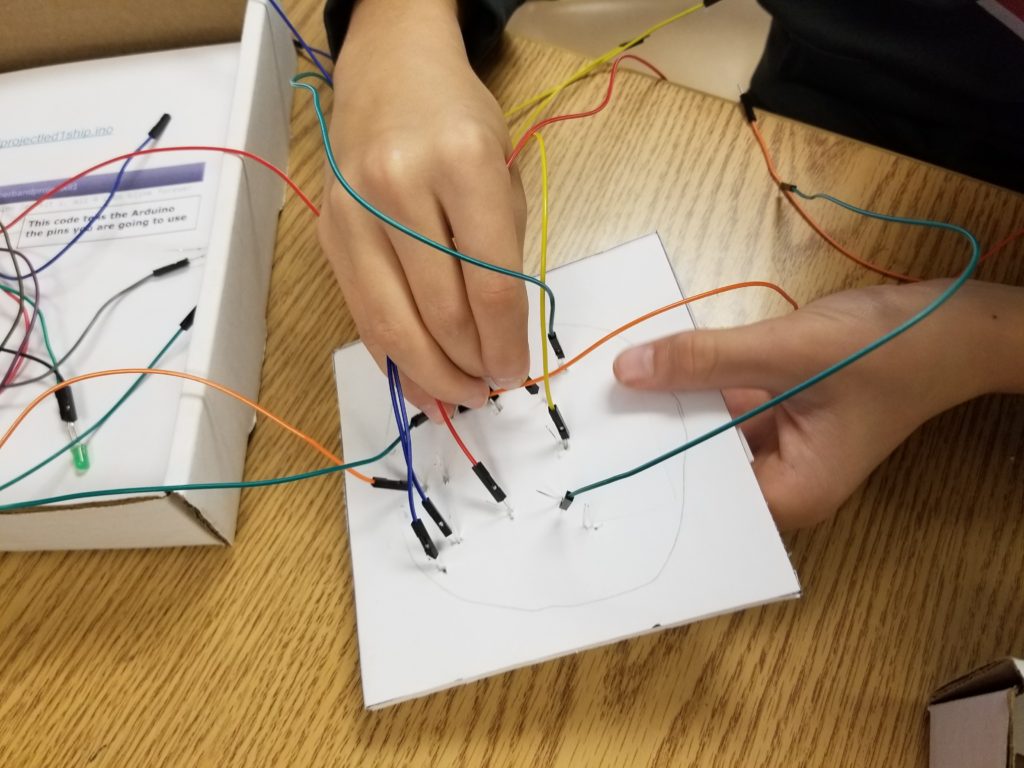
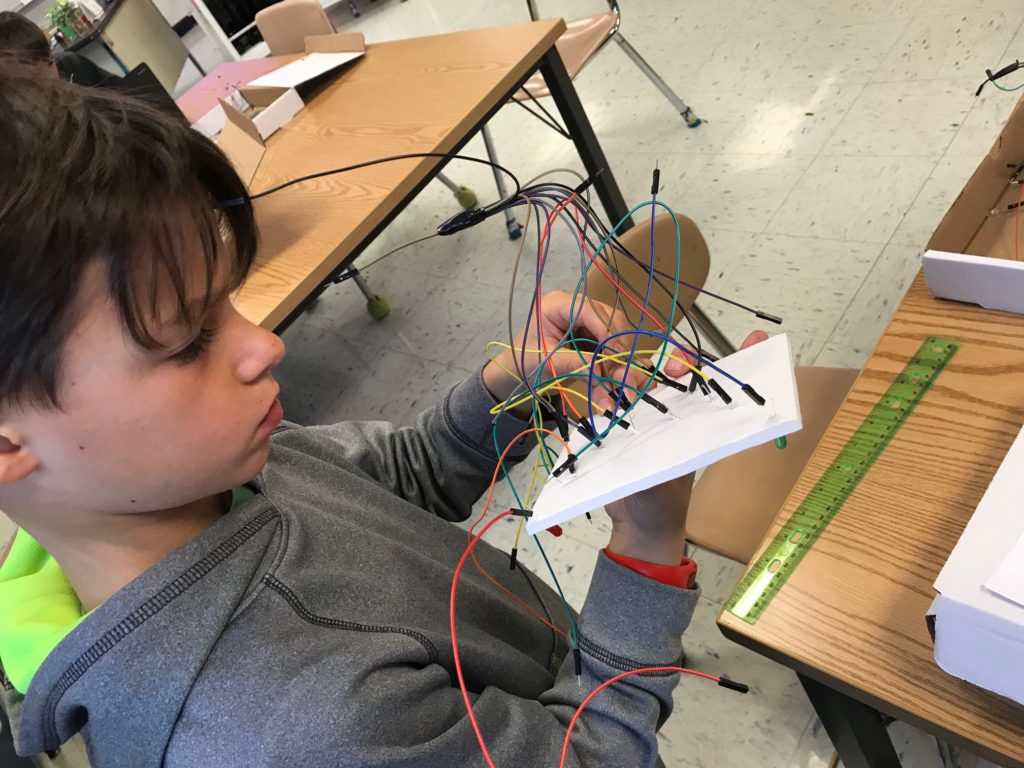
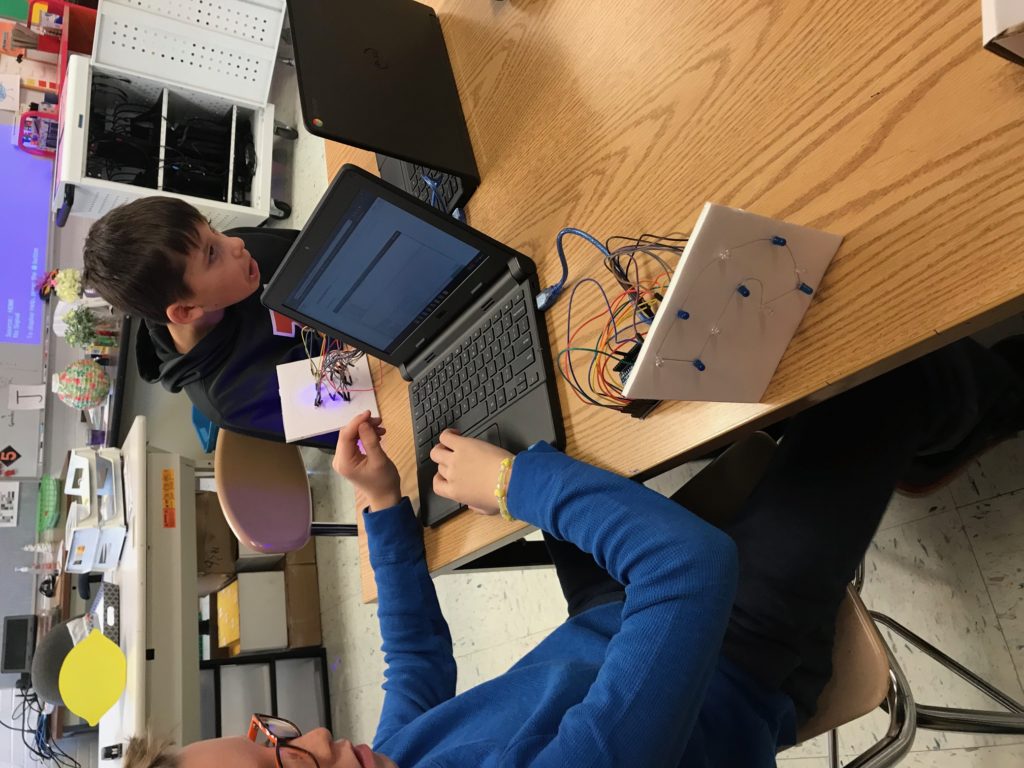
11.6 Students began taking their mock-up paper ideas and turning them to live using foam core, LED’s and jump wires. You can see that the jump wires that will eventually get hidden inside the sculpture are very complex. It takes fine motor skills to attach the jump wires to the LED’s. Students also have to be careful to attach the correct jump wires to each LED and be specifically careful to attach the ground jump wire to the shorter LED lead, and the positive jump wire to the longer LED lead.
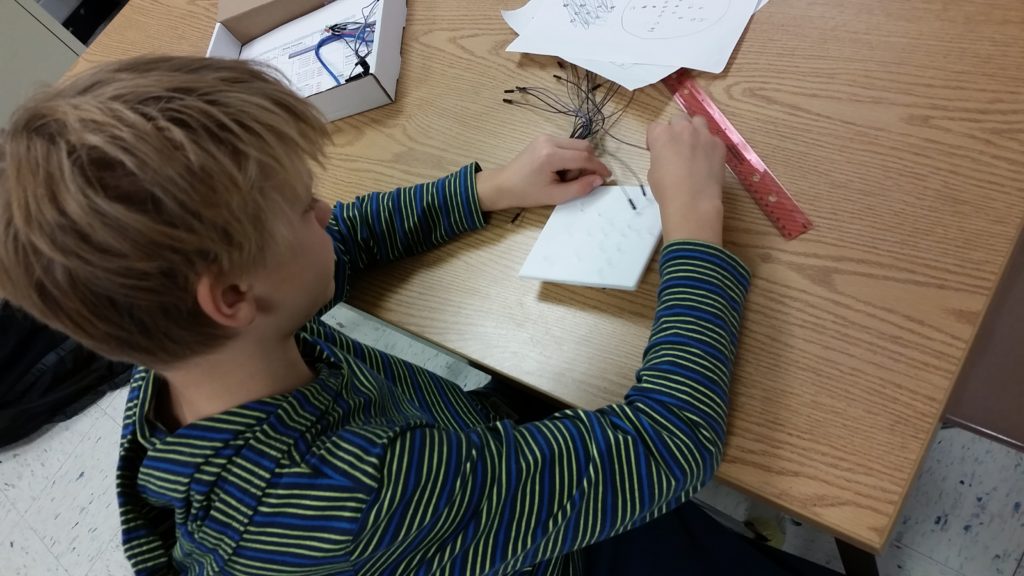
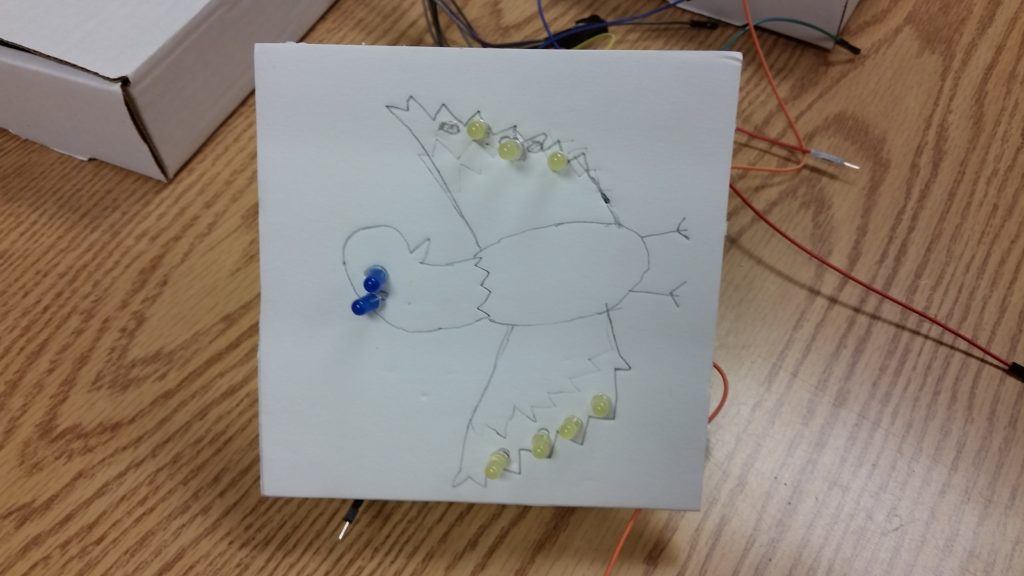
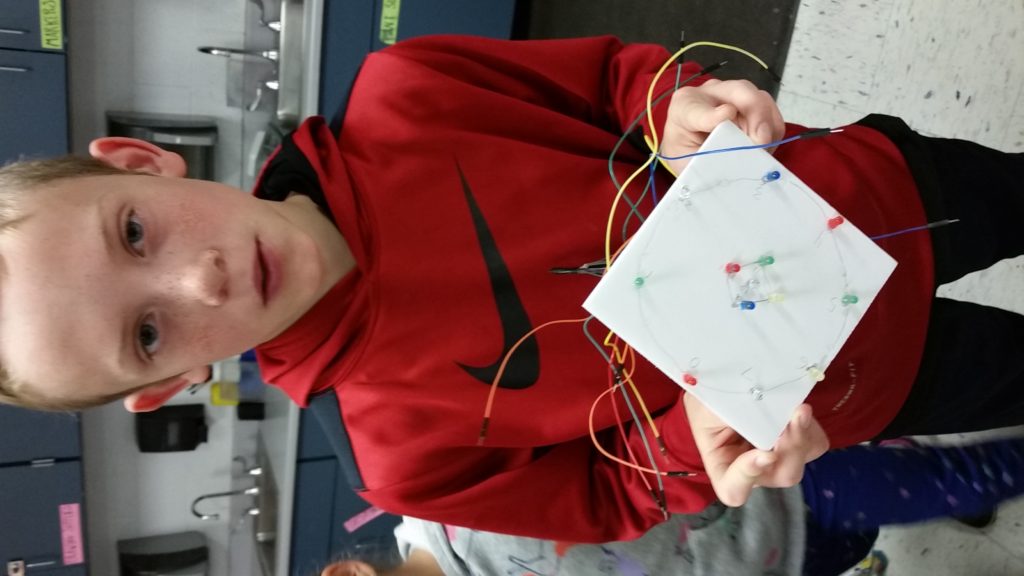
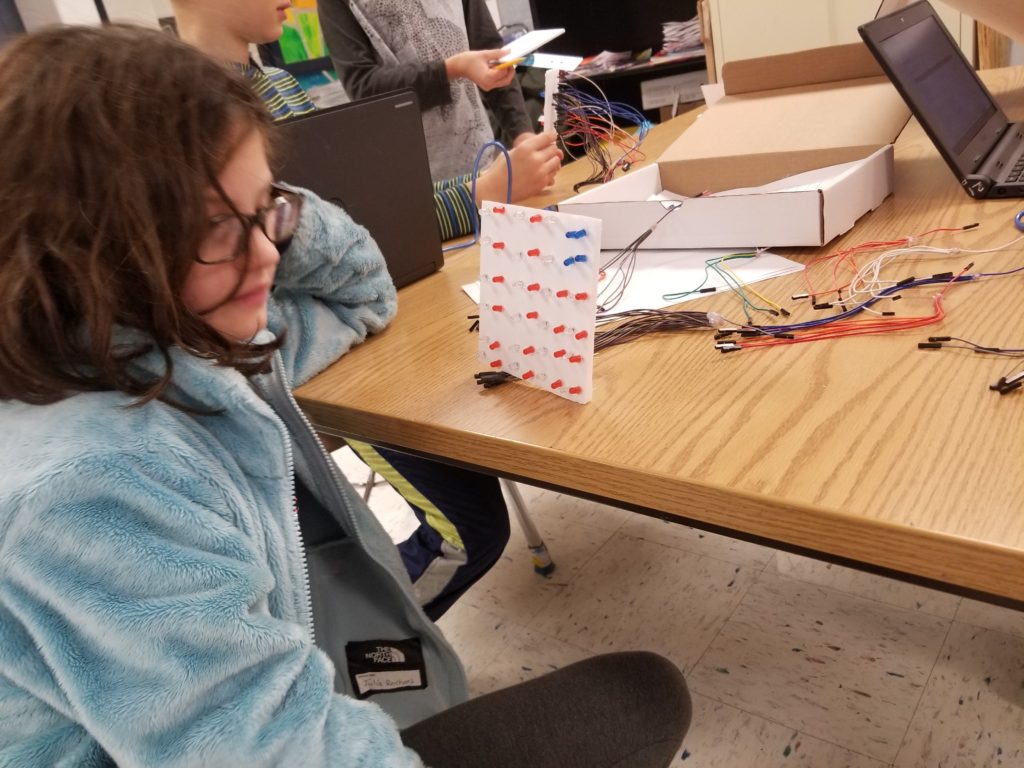
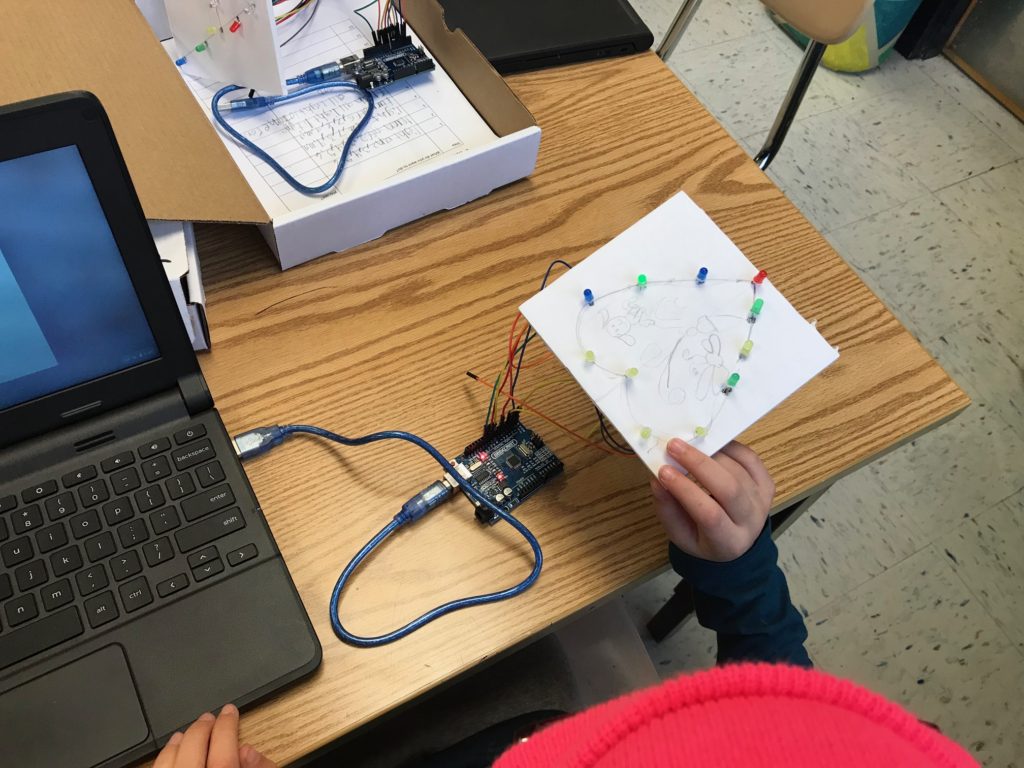
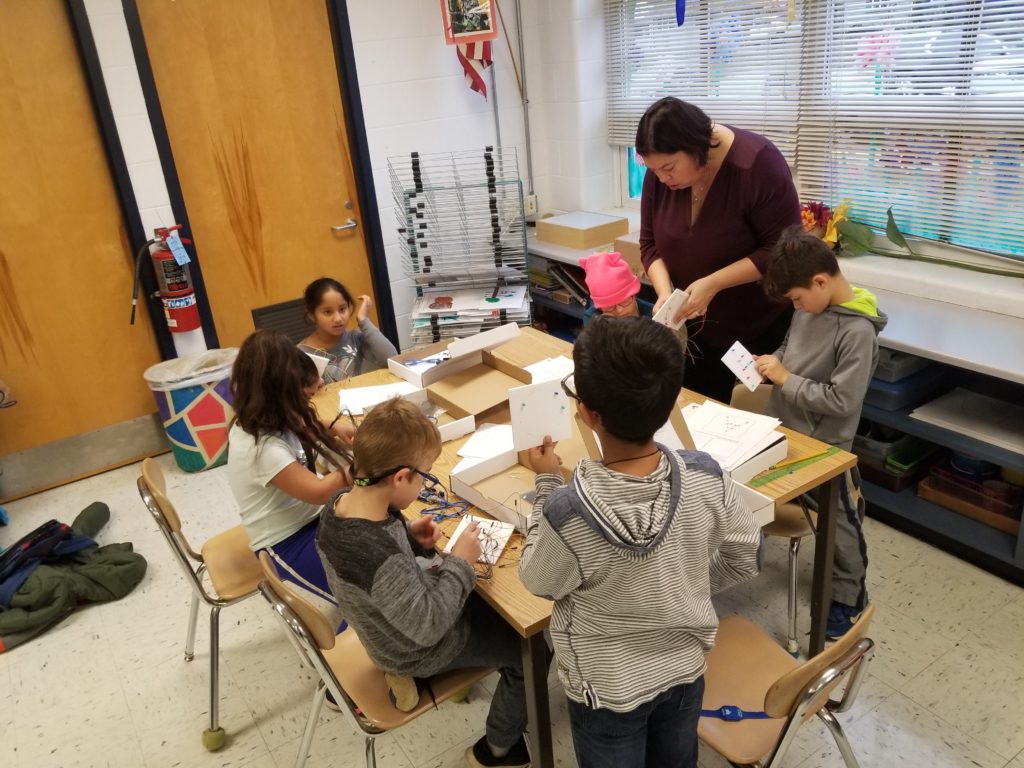
11.20 – Today students continued to work on their projects. Students who had missed class sketched their ideas from paper onto their foam-core square, some added LED’s to their foam-core, most students attached their positive and negative wires to LED’s and Arduino boards. Some students began to program their projects.
Control + A = Select All
Control + C = Copy
Control + V = Paste
Link to 12 LED’s and then a simple function
https://docs.google.com/document/d/1ZsYP1OuxxNSGYsfebcJlASQFO2FhGNBXf-DfXMJuEoY/edit?usp=sharing
12 LED’s on and off:
https://codebender.cc/sketch:932885
Helper Function